Continuing our little blog series on how to learn the basics of the Salesforce Data Loader, let’s look at how to overwrite a field that currently has a value and insert a blank or null value. Or, said differently, we’re going to delete the value of a single field using the Data Loader on a batch of records.
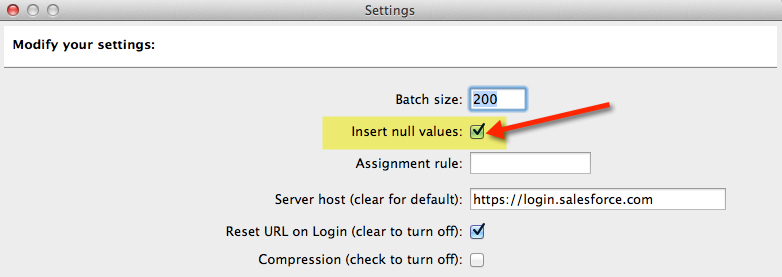
Once logged into the Data Loader, the first thing you need to do is go into Setting and click the box “Insert Null Values.” If you do not, your “Update” function will only change a field from one value to a new value, OR, if the field was blank initially, you can populate a blank (or null) field to have a value. Unless that box is checked, you can’t delete an existing field value (erase it) with the Update command.
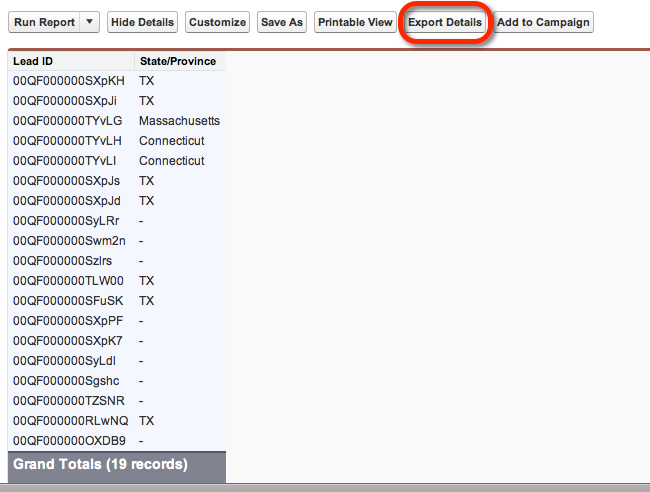
For an example file, we’re going to start with a Lead report. We’re going to take some of the non 2-digit state values and import blank or null values back into the State field (i.e. delete the non 2-digit State values).
First thing we do is start with a Lead report and export it to Excel. You must have the ID (Record ID) field in your export so the Data Loader will know which records to update (it’s the key for matching!).
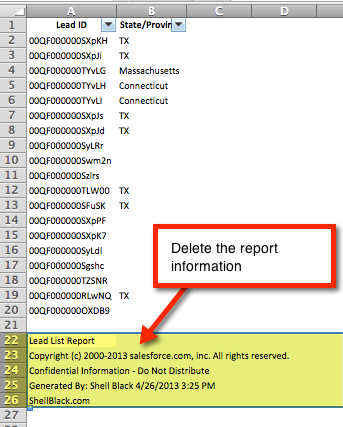
Next we’re going to delete the report information from the bottom of our Excel file.
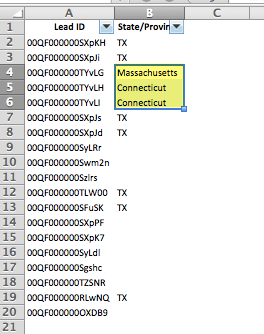
Then we’re going to remove our non 2-digit States values.
Save the file in a .csv format somewhere on your computer so you can find it later with the Data Loader. Launch the Data Loader and click “Update” button.
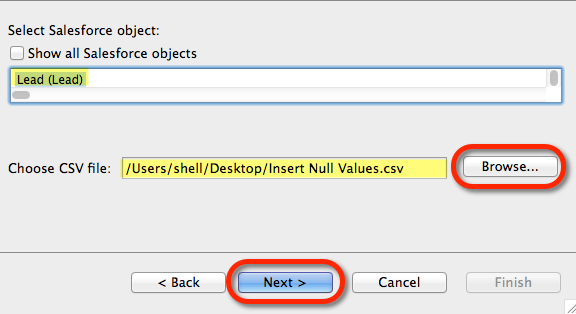
In Step 2 of the wizard, select the object in Salesforce you’d like to update (in this case the Lead object), and browse and select your file that you’d like to use. Then click “Next.”
On Step 3 click the “Create or Edit Map” button.
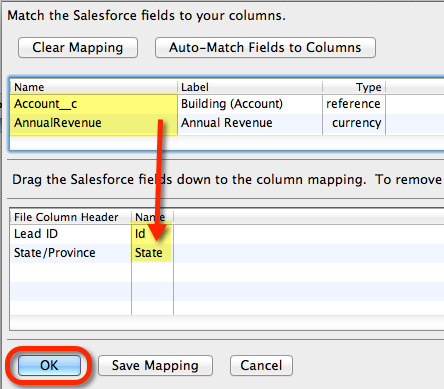
Map the fields you need by dragging them down from the list of fields available in the top window down to the fields that correspond to the columns in your .csv file. In our case we just need the ID (Record ID) and the State field. Then we can click “OK”, then “Next.”
In Step 4 of the wizard, choose the location where you want your success and error file saved and click “Finish.”
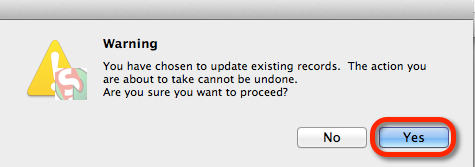
You’ll then get a warning saying you’re about to update records – click “Yes” and let the update rip.
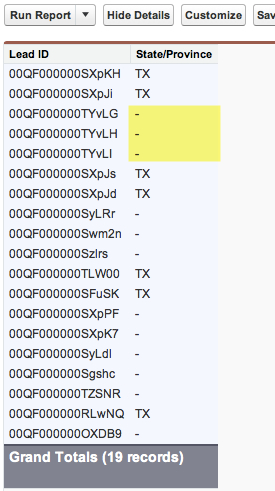
If we re-run our report back in Salesforce you’ll see that we’ve wiped our non 2-digit State values in our records. Success!
TIP – don’t forget to uncheck the “Insert Null Values” box in Settings! In most cases you’ll want that unchecked so you don’t inadvertently wipe out good data the next time you run the Data Loader.
Other blog post tutorials on how to use the Data Loader:
